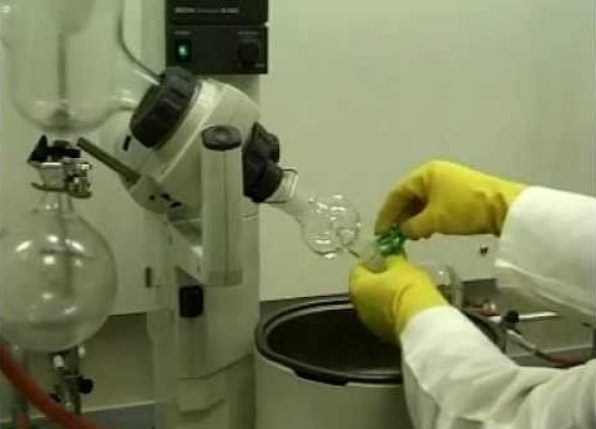
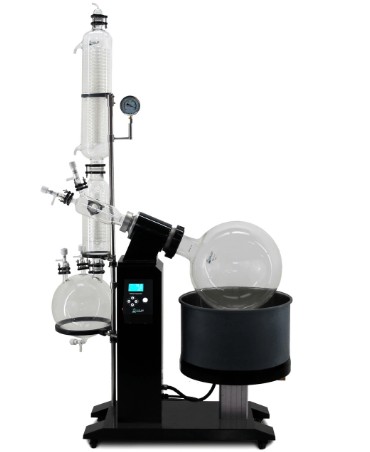
Rotary evaporators, or Rotavaps, are laboratory equipment used to separate solvents from reaction mixtures. Some Rotavaps can hold volumes as large as 3 liters. A rotary evaporator is to an organic laboratory what butter is to bread – they always go together. Let’s not get!
How To Set Up A Rotary Evaporator?

1. Start by pouring the mixture of the desired compound and solvent into a round-bottomed flask. To get the best results, ensure that the flask is half full or less.
2. Fill the rotavap’s cold taps with cubes of dry ice.
3. The solution prepared above needs to be prevented from the main chamber of the rotavap. To prevent it to do so, attach a glass (preferably Borosilicate) “bump trap” and secure it with Keck clips.
4. With Keck clips, attach the bump trap and the flask to the roto-evaporator’s adapter portion. Lower your flask into a water bath. This step helps prevent your flask from disconnection.
Alternatively:

1. If your institution has a water circulator as its main source of water and which it connects to the main condenser to reduce the loss of water, ensure that their sufficient ice is in the main water reservoir.
2. Pre-weigh a clean round-bottomed flask, fill it with the solution (solvent + desired compound) to be evaporated and keep ready for the next step.
3. Using a single plastic clip (often referred to as Keck clips), connect the flask from the above step to an evaporator’s “bump trap”. The bump trap plays an important role of the messy splashing or foaming of the solution (“bumping”). In some setups, you can use it to collect the components that can’t be recovered once they are lost.
4. Using the joystick know that comes with the apparatus, lower the flask down into the water bath until the flask is partly submerged. Ensure that the joint that connects the flask and the plastic clips is above the water.
5. Locate your vacuum source and turn it on. Your vacuum source can be an actual vacuum pump or a water aspirator. You should hear a hissing sound as the stop cock pulls the air. The vacuum created in this step is useful in tightly securing the flask on the bump trap.
6. Start rotating the flask moderately by making adjustments on the rotation notch (about 110 rpm).
7. The stopcock needs to be closed at this point. Do so by turning it perpendicularly to the system’s bleed valve.
8. Allow your solution to evaporate. The solvent should start collecting in the round-bottomed flask’s reservoir. There is no standard time for the completion of the evaporation process. Therefore, consider consulting your specific lab manual for guidance in this step.
9. When your sample appears to have evaporated completely, allow it to stay in the pressure system (at allowing pressure) for about 10 minutes so that the final solvent residue can be removed.
10. To stop the system’s evaporation process, reverse all the above steps by opening the stockcock, stopping the rotation, turning off the vacuum, and lifting the mask off the water bath.
The residue formed at the bottom of the flask should contain the compound.

