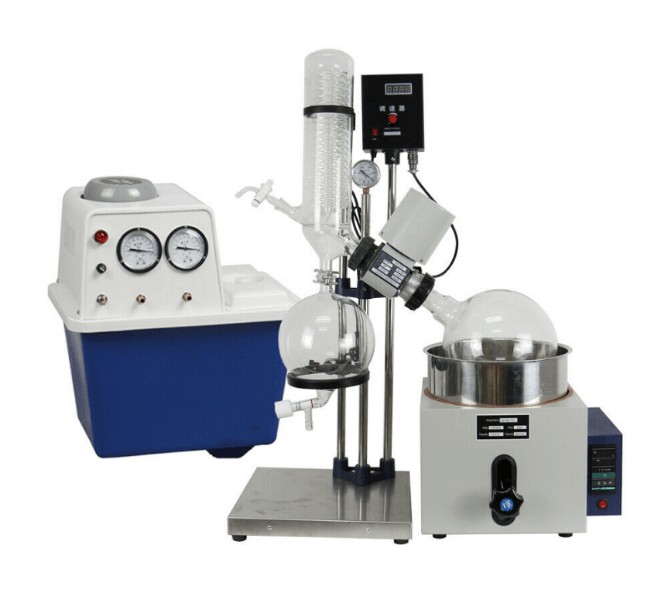
A rotary evaporator is an electronic device used in most chemical laboratories to remove solvents from samples by evaporations. It is otherwise called Rotavap and its invention is traced back to Lyman C. Craig. Besides, rotary evaporators are used in molecular cooking during the preparations of distillates and extracts. If you have just acquired a new rotary evaporator and have no idea how to go about its use, then this piece is here to give you every bit of information on the rotary evaporator procedure.
The Procedure of Rotary Evaporator Using

Use ice
If you are going to use a water circulator in your experiments to minimize water usage, make sure there is a water reservoir in the system. Most evaporating procedures have this design with water in it. It may vary from one experiment to the other but this is the standard way of doing it.
Fill the apparatus to more than half
Weigh the apparatus you are using, say a round-bottomed flask and be certain to fill it to more than half with the solution to be evaporated.
Use Keck clip
This is ideal for connecting the flask to the bump trap of the evaporator. Keck clip is simply a plastic clip to keep the connection steady during the evaporation procedure. Bump trap helps to prevent any foam or splashing solutions from outpouring and causing a mess and messing up the entire set up. Foam can also spill on the receiving flask where the components can not be retrieved. Keep the bump trap clean at least before any laboratory procedure to avert potential contamination from the previous evaporations procedures
Use joystick knob to lower the flask in the water
This will help you to accurately submerge the apparatus in use in water. Ensure that the flask is not positioned very low. The joint with the plastic clip should not get into the water.
Turn on the vacuum source
This could be a water aspirator or a vacuum pump. You should be able to hear a hissing sound as the air is being pulled through the cock. The partial vacuum holds the flask firmly and securely on the bump trap.
Slightly adjust the rotation notch
At a medium rate, now rotate the flask by adjusting the rotation notch precisely. This should be done to at least a third of the maximum rotation value
Close stopcock
Close the evaporator by turning it at a perpendicular position to the bleed valve. The hissing stops allowing room for the pressure to slowly decrease.
Allow the solution to evaporate
Your solvent should collect on the flask. There is no set or restricted time for evaporation. Just give it time enough.
Keep the sample at reduced pressure for sometime
This ensures maximum removal of the final solvent residue.
Reverse the previous steps to stop evaporation
If you want to stop evaporation, precisely reverse the above steps
Final residue collection
Your desired compound is contained in the residue that collects on the flask. It may contain traces of the solvent. Leave it in the open for a while if the compound is not so volatile.
Conclusion
Rotary evaporators have helped eased evaporation techniques in most chemical laboratories and ordinary labs. We hope this article has been educating in unearthing facts on rotary evaporator procedures.

